

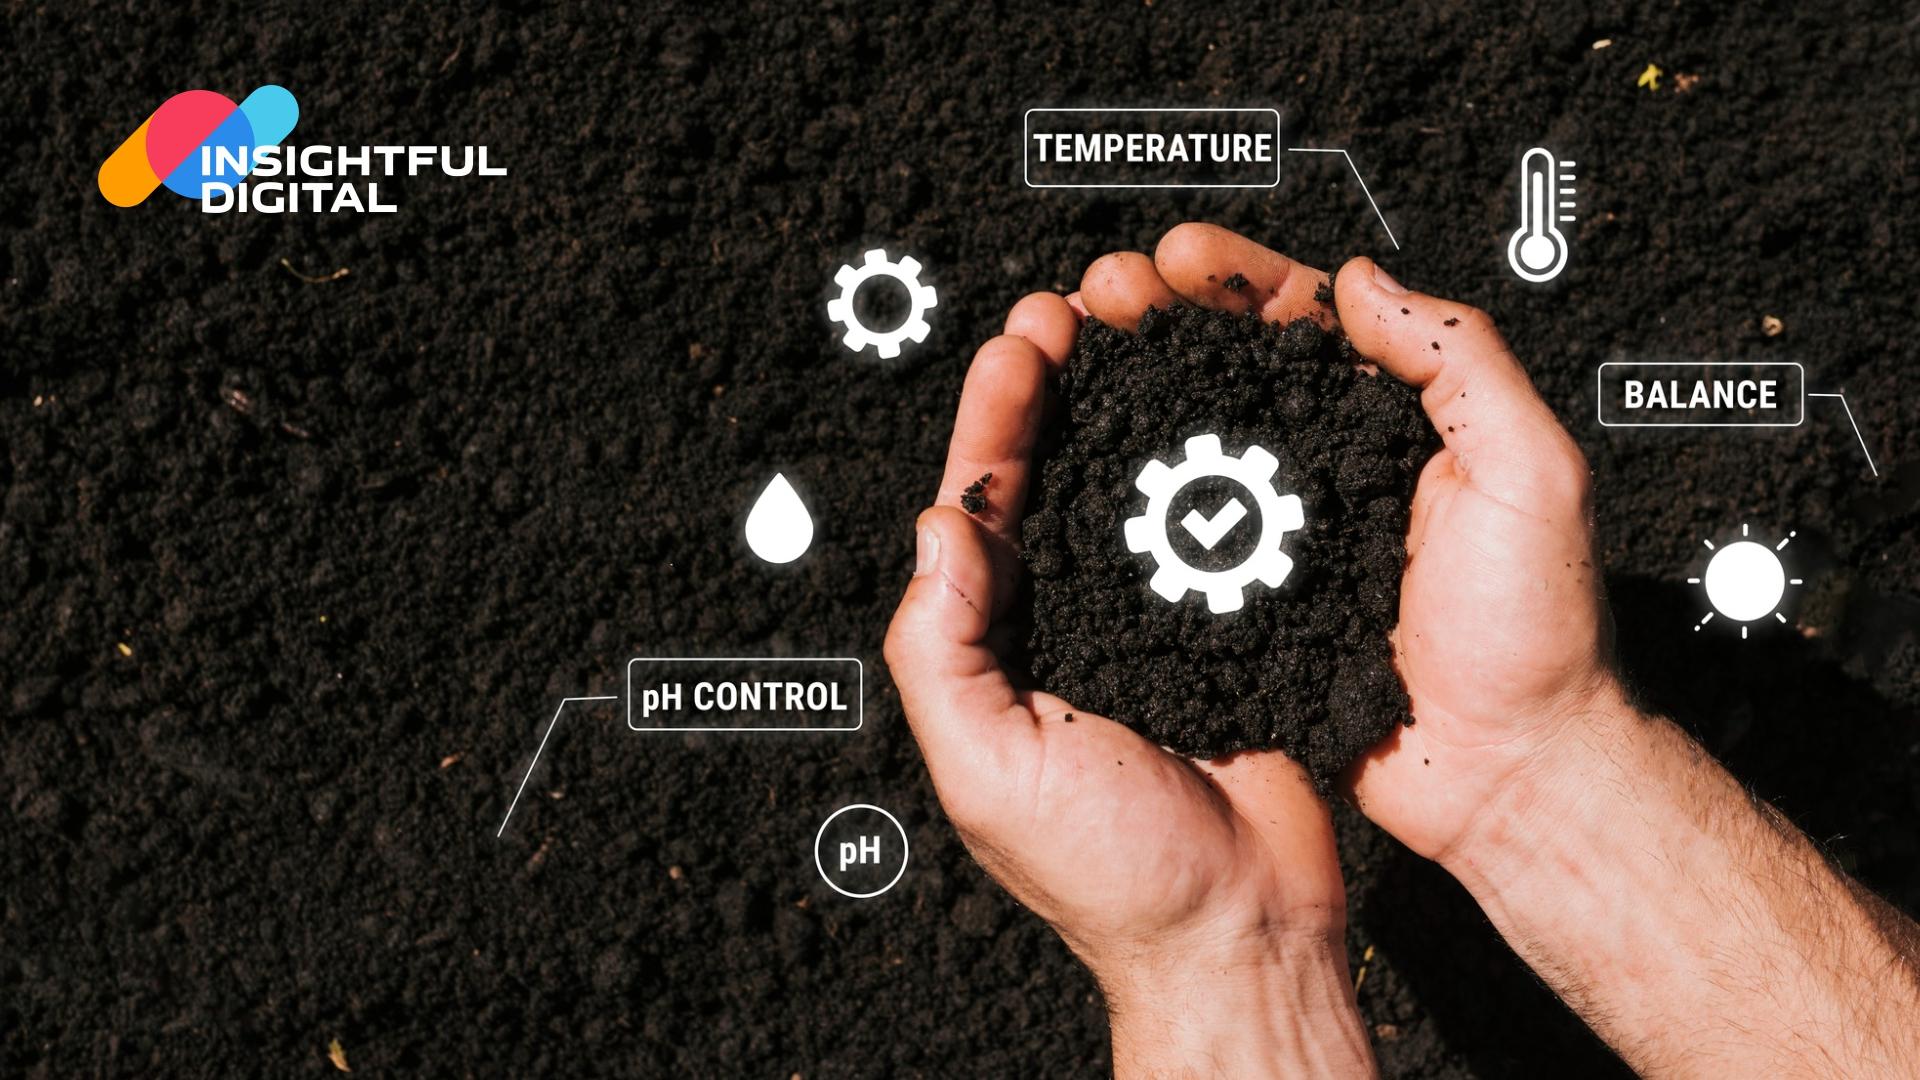
What is Soil Testing?
Soil testing is a scientific method to assess the nutrient status of agricultural land and determine its suitability for crop production. It involves analyzing important parameters such as soil pH, electrical conductivity, available nitrogen, phosphorus, potassium, calcium, magnesium, and sulfur. Additionally, it measures the presence and availability of micronutrients like boron, copper, iron, manganese, and molybdenum.
The primary purpose of soil testing is to identify nutrient deficiencies or excesses in the soil so that farmers can apply fertilizers and manures in the right amount and at the right time. This not only improves crop productivity but also prevents soil degradation due to overuse of chemicals.
Importance of Correct Soil Sampling
The accuracy of soil test results depends largely on the quality of the sample collected. An improper or unrepresentative sample may give misleading results, leading to wrong fertilizer recommendations. Therefore, collecting a correct and representative sample is the most crucial step in soil testing.
Key Guidelines Before Collecting Samples
- The crop growth in the selected field should be uniform.
- Fertilizer application should be consistent throughout the field.
- The land should be level and of the same soil type. If these conditions are met, one composite or representative sample can be collected from the entire field.
- Samples should preferably be taken before sowing or planting and before fertilizer or manure application.
- If necessary, samples can also be collected between standing crop rows.
- Soil testing should be done at least once every year or after completing one crop cycle.
- Ideally, samples should be sent to the laboratory one month before sowing, ensuring enough time for receiving results and applying recommendations.
Materials Required for Sample Collection
- Spade, hand hoe (khurpi), trowel, or auger
- A clean bucket or tray
- Cloth or plastic bags
- Pen, thread, and tags for labeling
- Information sheet or card for details
Step-by-Step Method of Soil Sampling
1. Selection of Field and Sampling Points
- Select a field not larger than 4 acres for one sample. If the area is larger, collect two or more samples.
- Walk in a zig-zag manner across the field and mark 8–10 sampling points, leaving about 10 feet from the boundary bunds to avoid edge effects.
2. Preparing Sampling Spots
- Remove weeds, crop residues, stones, or litter from the surface.
- Dig a V-shaped pit about 15 cm (6–7 inches) deep for cereals/vegetables and 30 cm (11–12 inches) to 1 meter deep for deep-rooted crops.
- Scrape a 2 cm thick slice of soil from top to bottom of one side of the pit and collect it in a clean bucket.
3. Mixing and Reducing the Sample
- Mix soil collected from all marked spots thoroughly by hand.
- Spread it on a clean cloth and form a heap.
- Divide it into four equal parts and discard two opposite portions.
- Mix the remaining two portions again and repeat the process until about 500 grams of soil remains.
- This final sample is the representative soil sample.
4. Packing and Labeling
- Place the dried soil in a clean plastic bag, then keep it inside a cloth bag.
- Attach an information card with details such as farmer’s name, village, field number, crop history, soil depth, and irrigation source.
- Send the prepared samples to the nearest Soil Testing Laboratory for analysis.
Special Cases of Soil Sampling
1. Saline or Alkaline Soils
- Dig up to 90 cm depth and level one side of the pit.
- Collect half a kilogram of soil separately from depths of 0–15 cm, 15–30 cm, 30–60 cm, and 60–90 cm.
- Label each sample with the depth and include details such as groundwater level and irrigation source.
2. Fruit Orchards
- For perennial fruit crops, soil should be sampled up to 2 meters depth since trees absorb nutrients from deeper layers.
- Mark depths at 15, 30, 60, 90, 120, 150, and 180 cm and collect ½ kg soil from each layer separately.
- Record the depth and other field details on the sample information card.
- Calcium carbonate levels in deeper layers are especially important for orchard management.
Conclusion
Soil testing is an essential tool for modern farming, ensuring balanced fertilizer use, higher yields, and sustainable soil health. However, the reliability of test results depends on how carefully the soil sample is collected. By following the correct sampling methods and submitting samples to certified laboratories, farmers can make informed decisions for better crop production and long-term soil fertility.
Objective Questions for Competitive Exams
Q.1. What is the primary purpose of soil testing?
a) To measure soil color and texture
b) To identify nutrient deficiencies or excesses for fertilizer recommendations
c) To determine the age of the soil
d) To count the number of earthworms
Answer: b) To identify nutrient deficiencies or excesses for fertilizer recommendations
Q.2. What is the maximum recommended field area (in acres) for collecting one composite soil sample?
a) 1 acre
b) 2 acres
c) 4 acres
d) 10 acres
Answer: c) 4 acres
Q.3. For a standard cereal crop, what is the recommended depth (in cm) for digging a pit to collect a soil sample?
a) 5 cm
b) 15 cm
c) 30 cm
d) 60 cm
Answer: b) 15 cm
Q.4. Which of the following is a crucial step in preparing a representative composite sample?
a) Collecting soil from only one spot
b) Mixing samples from 8-10 points and using a quartering method to reduce the quantity
c) Only collecting soil from the surface
d) Using a metal container for mixing
Answer: b) Mixing samples from 8-10 points and using a quartering method to reduce the quantity
Q.5. For perennial fruit orchards, soil sampling is recommended up to what depth?
a) 15 cm
b) 30 cm
c) 90 cm
d) 2 meters
Answer: d) 2 meters
Q.6. What is the ideal final weight (in grams) of a prepared soil sample to be sent to the laboratory?
a) 100 grams
b) 250 grams
c) 500 grams
d) 1 kilogram
Answer: c) 500 grams