
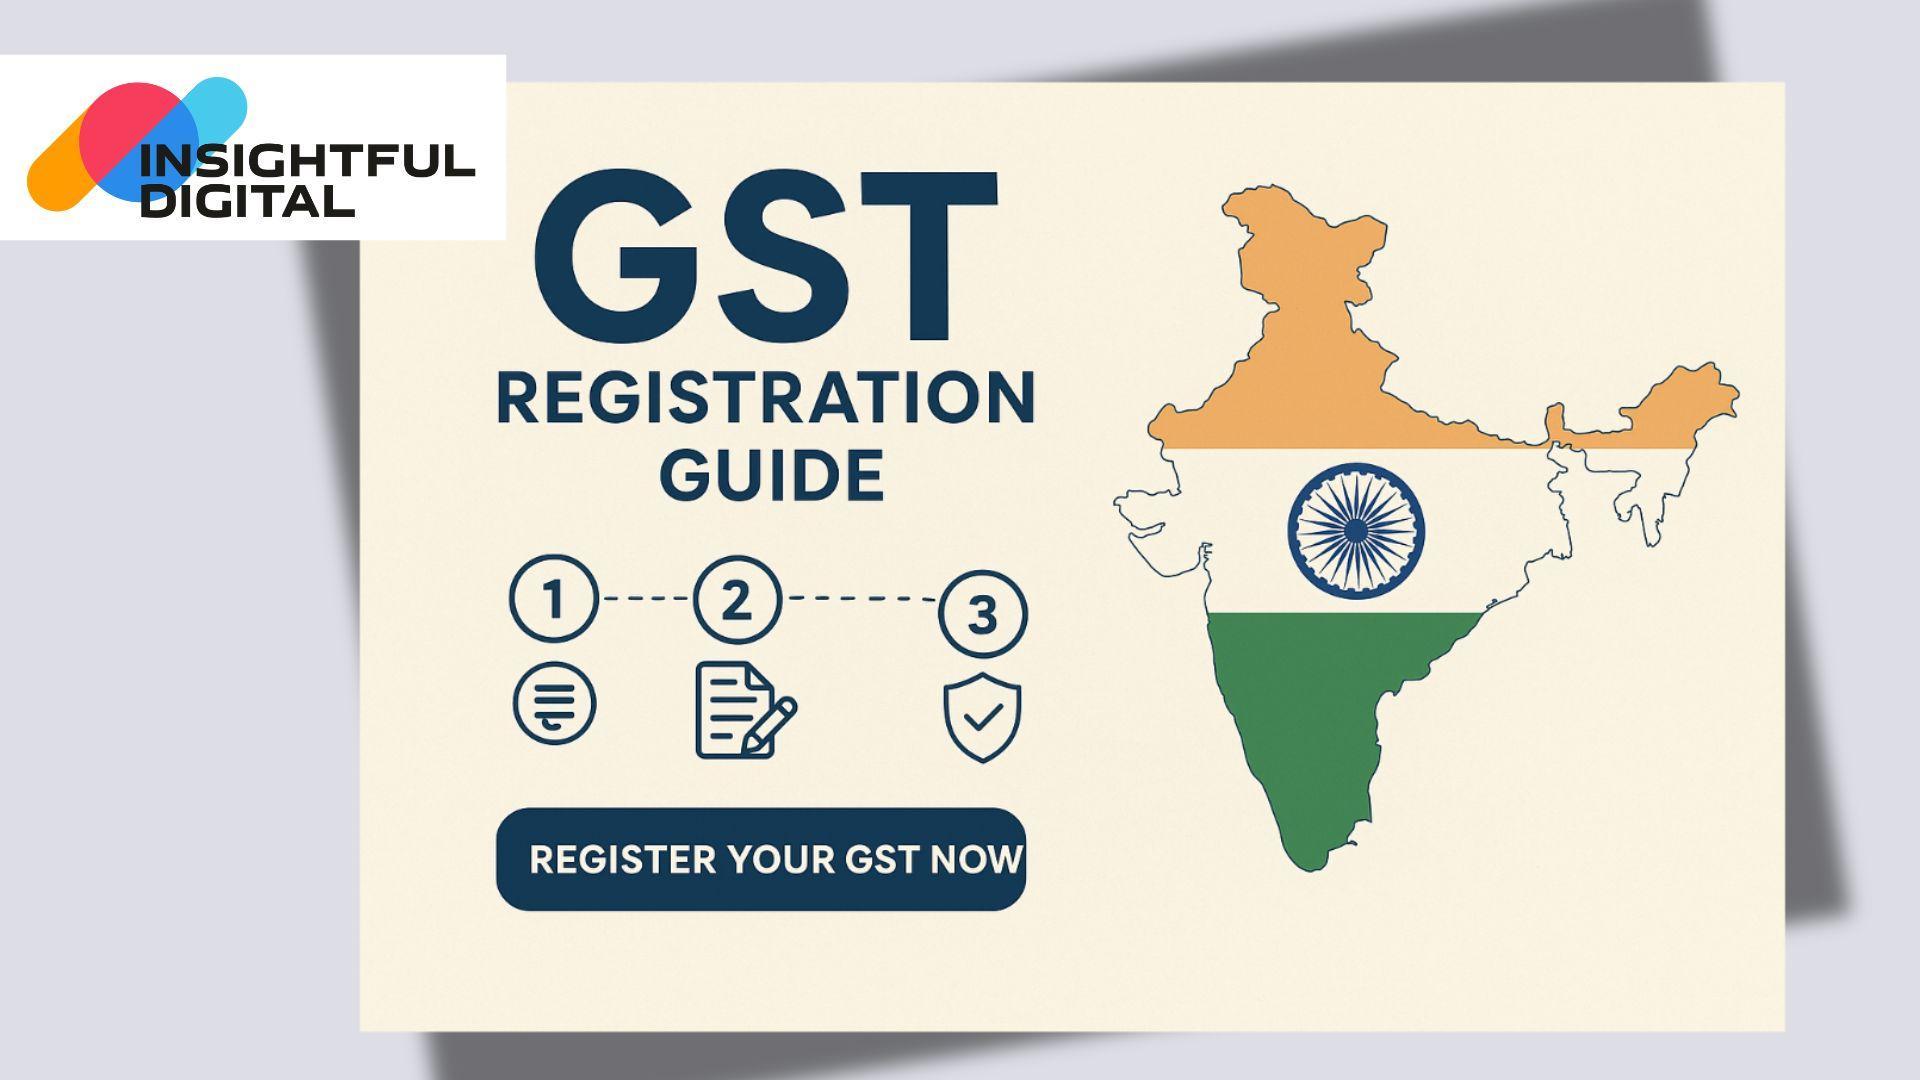
In my earlier blogs, I explained how GST works and who needs to register. Many of you asked me – “I get that GST is mandatory, but how do I actually register?” So today, we’ll cover exactly that. Think of this as a continuation of our GST series, but more practical and hands-on.
A friend of mine, who runs a small handmade soap business, recently went through GST registration. Watching her go through it showed me that it’s not as scary as it seems. With the right steps, it’s totally doable. Let’s walk through it.
Step 1: Check Your Eligibility
First things first – make sure your business actually needs GST. You must register if:
- Your annual turnover is above ₹40 lakh (₹20 lakh in some states)
- You supply goods across state borders
- You sell online on platforms like Amazon or Flipkart
- You provide services and cross the threshold limit
Even if you don’t strictly need it, voluntary registration can give your business more credibility.
More info: GST Eligibility Rules
Step 2: Gather Your Documents
Most entrepreneurs get stuck here. To save time, keep these ready:
- PAN card (business or personal)
- Aadhaar card
- Proof of business registration (partnership deed, incorporation certificate, etc.)
- Address proof of your business (electricity bill, rent agreement, etc.)
- Bank details and a canceled cheque
- Digital signature (for companies and LLPs)
Tip: Scan everything in advance-it makes online submission smooth
Step 3: Visit the Official GST Portal
Use only the official site: https://www.gst.gov.in
Third-party sites can charge extra fees or confuse you.
Step 4: Fill Part A of the Registration Form
On the GST portal, go to Services → Registration → New Registration.
You’ll need:
- Legal business name (as per PAN)
- PAN number
- Email and mobile (for OTP verification)
After submission, you’ll get a Temporary Reference Number (TRN).
Direct link: GST New Registration
Step 5: Complete Part B of the Form
Log in with your TRN and provide:
- Business details (trade name, type, etc.)
- Partners or promoters’ information
- Authorized signatory details
- Principal business address
- Additional locations, if any
- Goods or services details with HSN/SAC codes
Upload all scanned documents. Double-check before submitting.
Step 6: Verification and ARN
Your application will be verified. You’ll get an Application Reference Number (ARN) via email and SMS. This is your tracking ID, so save it.
Track status: Check GST Application Status
Step 7: GSTIN Issuance
If all is correct, your GSTIN (Goods and Services Tax Identification Number) is issued in about 7 working days. Sometimes, officers may ask for clarifications or extra documents—these can be uploaded online.
View GSTIN info: GST Help
How GST 2.0 Makes It Easier
India’s Next-Gen GST 2.0 has simplified things:
Benefits:
- Faster approvals with automated checks
- Less paperwork
- Friendly online portal
- Reduced compliance burden for small businesses
Note: Since it’s new, some may face minor glitches. But overall, it’s a major improvement.
Why GST Registration Matters
It’s not just a formality. It adds credibility. My soap-making friend started getting bulk orders only after sharing her GSTIN. She said, “It finally felt like my business was official.”
Think of GST registration as your entry ticket into India’s formal economy.
Final Thoughts
If you’re starting or growing your business, GST registration should be at the top of your list. It might feel like extra paperwork, but the benefits-credibility, professionalism, compliance-are worth it.
Take it step by step, use this guide, and you’ll be surprised how smooth it is. GST 2.0 is here to simplify your journey, not complicate it.
✅ Direct Useful Links:
- Official GST Portal
- New GST Registration
- HSN/SAC Codes
- Check Application Status
MCQs for Readers:
Q1. Which of the following businesses must register for GST in India?
A) Business with annual turnover of ₹10 lakh in any state
B) Businesses supplying goods across state borders
C) Freelancers earning below ₹5 lakh annually
D) Only large corporations - Answer: B) Businesses supplying goods across state borders
- Q2. What is the minimum annual turnover threshold for mandatory GST registration in most states?
A) ₹10 lakh
B) ₹20 lakh
C) ₹40 lakh
D) ₹50 lakh - Answer: C) ₹40 lakh
- Q3. Which of the following is not required for GST registration?
A) PAN card
B) Aadhaar card
C) Passport
D) Business address proof - Answer: C) Passport
- Q4. After submitting Part A of the GST application, which number is generated?
A) GSTIN
B) ARN
C) TRN (Temporary Reference Number)
D) Business License - Answer: C) TRN (Temporary Reference Number)
- Q5. What does ARN stand for in the GST registration process?
A) Annual Registration Number
B) Application Reference Number
C) Authorized Registration Note
D) Annual Revenue Notification - Answer: B) Application Reference Number
- Q6. Which portal is the official site for GST registration?
A) www.gstregistration.com
B) www.gst.gov.in
C) www.taxindia.gov.in
D) www.incometaxindia.gov.in - Answer: B) www.gst.gov.in
- Q7. Which of the following is a key benefit of GST 2.0?
A) Manual paper filing only
B) Slower approvals
C) Automated checks and faster approvals
D) No registration required - Answer: C) Automated checks and faster approvals
- Q8. Why is voluntary GST registration sometimes recommended?
A) It helps avoid taxes
B) It increases credibility with clients and suppliers
C) It guarantees higher sales
D) It exempts the business from all compliance - Answer: B) It increases credibility with clients and suppliers
- Q9. Which of the following is required to submit Part B of the GST application?
A) Trade name, business type, and HSN/SAC codes
B) Passport and driving license
C) Only PAN card
D) Income tax returns of past 5 years - Answer: A) Trade name, business type, and HSN/SAC codes
- Q10. How long does it usually take to get a GSTIN after submitting all documents correctly?
A) 1–2 days
B) 3–5 months
C) Around 7 working days
D) 30 working days - Answer: C) Around 7 working days